
Your first yoga session can be a few familiar movements in a clear order. This practice starts with Mountain Pose, continues with a small arm reach and a seated turn, and ends with seated rest. Set aside about ten minutes to read the cues and change positions without rushing. You can also do the whole session seated.
Set up your space before you begin
Find a clear area and move cords, loose rugs and anything else you might step on out of the way. Set out a solid chair without wheels or a swivel base. Choose a seat that lets both feet rest flat and gives your arms room to move. Check that all four legs stay steady when you sit. If you use a mat for the standing portion, check that it lies flat and stays put under your feet. Keep the chair on a level, stable surface.
Read the steps once before moving. If a position feels uncertain, choose a smaller motion or skip it. Stop if you feel sharp pain, dizziness or unsteadiness. If you have been advised to limit certain movements, ask a qualified instructor or healthcare professional about appropriate options before trying a new sequence.
Give yourself room to read the instructions
Put your phone, tablet or printed page where you can reach it between steps. Read each instruction while sitting or standing still. You can look down to read, set the page aside, and then try the movement. If the instructions seem long, pick out three details first: where to start, what moves, and how to come back. For Mountain Pose, those details are your feet on the floor, your arms at your sides, and the option to sit before the next movement.
Decide where you will end before you begin. If you are starting on the mat and finishing in a chair, leave a clear route between them. If the chair is a better starting point, use it from the beginning. You can follow the same order while seated and skip any movement you would rather preview with a teacher.
Follow the sequence at your own pace
| Step | Position | What to practice |
|---|---|---|
| 1 | Mountain Pose | Find a steady standing position |
| 2 | Small arm reach, standing or seated | Move your arms through a comfortable range |
| 3 | Small seated turn | Turn a little and return to center |
| 4 | Seated rest | End the session in a position you can settle into |
1. Mountain Pose
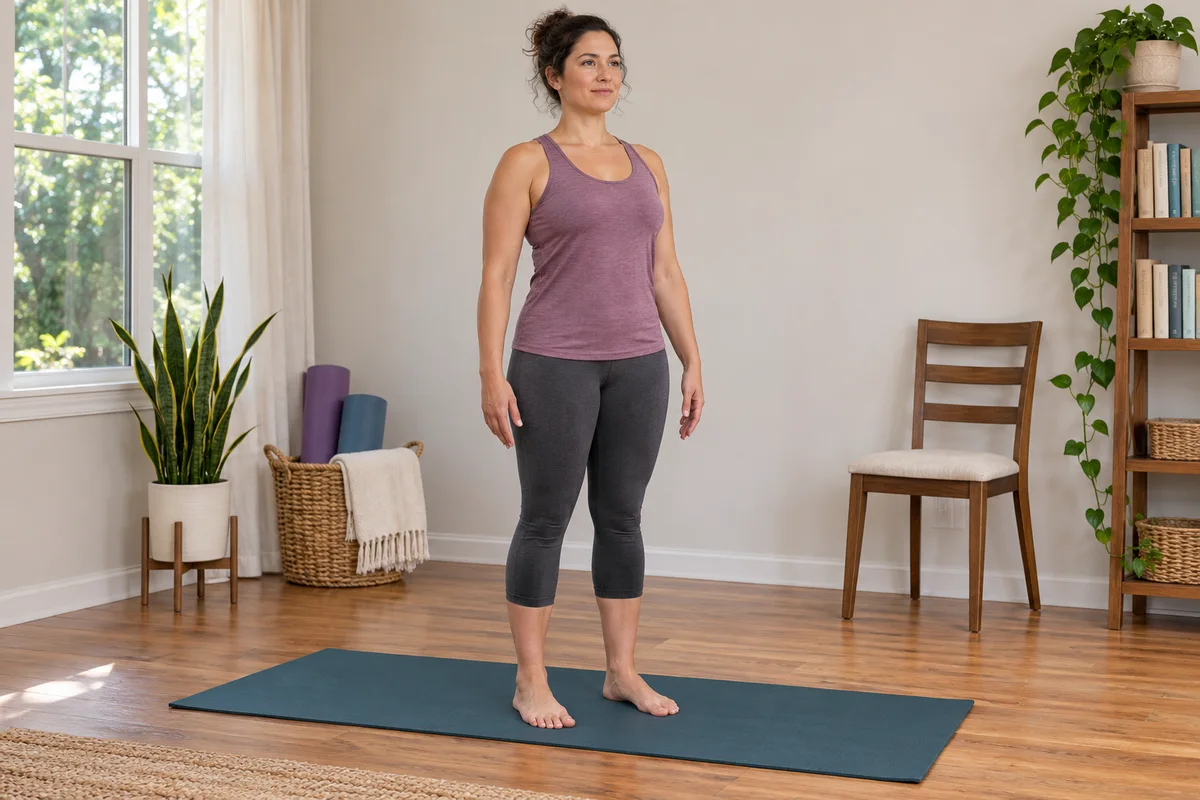
Stand with your feet a comfortable distance apart. Let your arms rest by your sides and keep your knees easy rather than pressing them back. Look ahead at a steady point. Take a few ordinary breaths and notice where your feet meet the floor.
If you catch yourself trying to look exactly like the photograph, return to the instruction you can feel: both feet are supported and you can breathe comfortably. You can take a moment to adjust your feet. When you are ready to end the pose, let go of the effort of standing tall and either stay where you are for the next movement or walk to the chair at a normal pace.
If standing takes most of your attention, sit on a stable chair with your feet supported and notice the same contact with the floor. You can stay seated for the arm movement that follows. Before starting the next step, check that you have space on both sides.
2. Small arm reach
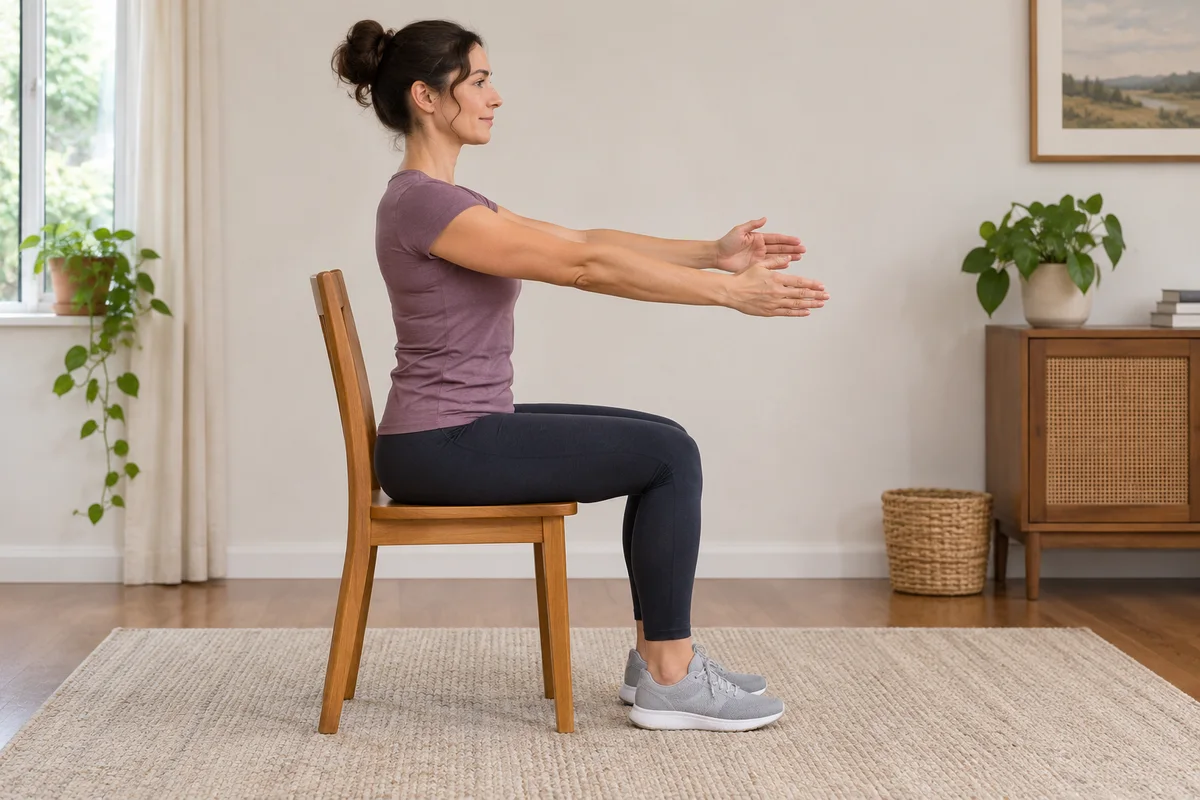
From your comfortable standing or seated position, slowly bring your arms forward to a height that feels easy, then lower them. Keep the range small enough that you can return to the starting position smoothly. Repeat a few times at an unhurried pace. You can lift one arm at a time or leave both arms down and move on.
If you are reading the instructions from a screen, stop between repetitions when you need to look. Recheck your space before trying a wider reach. The purpose is to understand the movement and its ending.
If you choose the seated version, plant both feet and allow your hands to come back to your thighs between reaches. Try one repetition and see if you can lower your arms as easily as you lifted them. If you feel the need to lean back to lift higher, make the next reach lower. The height shown in the photo is one example. Pick a range that feels comfortable for you.
3. Small seated turn
Sit upright with both feet flat and your hands resting lightly on your thighs. Keep your hips facing forward and gently turn your upper body a little to one side. Come back to the center before trying the other side. Keep breathing normally and avoid pulling on the chair or pushing with your hands to turn farther.
You can keep the movement small enough to return smoothly. If turning feels awkward, stay facing forward and go straight to seated rest. When the movement ends, let your arms settle and check that both feet are still supported. Taking a moment in the center makes it easier to tell when one repetition is over.
4. Seated rest
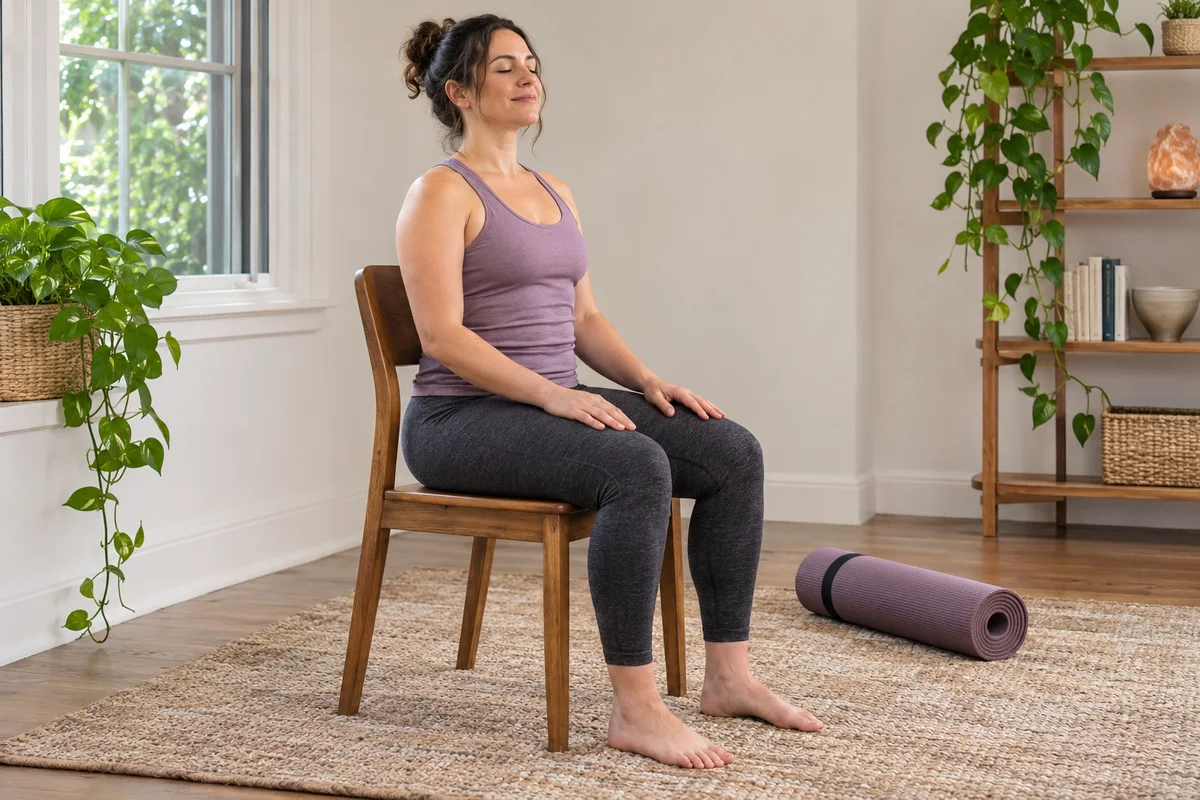
Sit on your stable chair with your feet supported. Let your hands rest on your thighs or in your lap. Give yourself a quiet moment to notice your surroundings, then decide whether you want to finish. Savasana, also called Corpse Pose, is traditionally practiced lying down in many classes. A seated rest can serve as the closing pause for this home sequence.
Keep your eyes open if you prefer. You might notice the pressure of your feet on the floor or listen to one sound in the room. If you would rather get up, do so when you feel ready and have a clear path. The seated finish gives you a definite ending, which is useful if you are following instructions on a screen or fitting the practice between other tasks.
Fit the sequence into about ten minutes
Allow the first two minutes for setup and a quick read. Spend another couple of minutes trying Mountain Pose and deciding whether to stay standing. Give yourself time for a few arm reaches, then sit and try one small turn in each direction if comfortable. Leave the last minute or two for rest and a short note about what you would do again. These times are room in your schedule. You can leave a step early and use the extra time to read the next instruction.
If you need a shorter version
Sit in the chair, feel your feet on the floor, try one small arm reach, and rest. This gives you a beginning, a movement and an ending without a transition to the mat. If you have a few minutes on another day, add the turn or try the standing version of Mountain Pose. You can make one change at a time and see which step needs more attention.
If you lose your place
Stop in a position you can comfortably leave. Find the table and locate the last step you remember. You can read the next instruction, skip ahead to seated rest or finish for the day. If the same line confuses you twice, write it down and ask a teacher what it means. This is especially useful if you can identify whether the unclear part was the setup, the direction or the return.
Decide what to repeat next time
Write down one instruction that helped and one thing you want to change. For example, “I could follow the arm reach when I sat down, and I needed the phone higher so I could read it before starting.” On the next day, use the chair again and change only the position of the screen. This makes it easier to tell which adjustment helped.
If you want to try a recorded class next, preview one movement in the middle as well as the opening. Listen for a cue that tells you how to finish a movement. If the recording includes getting down to the floor, decide in advance whether that transition fits the session you want. See how to choose a beginner yoga video for a simple way to preview the lesson.
Questions and answers
Do I need to get down on the floor for my first session?
This sequence stays standing and seated. If you choose a different recording, check how the instructor moves from one position to the next before trying it.
What if I cannot finish the sequence?
Stop at a position you can comfortably leave. If one step was unclear, mark it for a teacher to explain. Try a shorter version the next time by keeping the steps you could follow.
Can I do all four steps in a chair?
Yes. Begin seated with both feet supported, then try the seated arm reach and small turn if comfortable. Return to the center and rest in the same chair. Choose a chair with room for your arms and enough support under both feet.
Should I hold each pose for a set time?
Use a few ordinary breaths as a reference if that helps. Leave the position sooner whenever you need to. When you try a different class, listen for the exit cue as well as the instruction to enter the pose.
Is seated rest the same as Savasana?
The seated rest in this sequence is a quiet finish with your feet supported. Savasana often refers to a lying rest position in yoga classes. Ask the instructor what the class uses and whether a seated finish is available if you prefer to stay in a chair.